Just a note for now, I'll get into details tonight.
Busy, busy week at the farm. I have made great strides in my enclosure design, started a new project that was inspired by a garage sale, and repaired a broken wire in my printer. The Koala Farm also writes apps for iPhone, iPad and IOS 8 is near to release, so working hard on getting all the apps ready for the exciting new operating system.

The Koala Farm blog is a journal of my adventures in 3d printing.
Wednesday, September 17, 2014
Saturday, September 6, 2014
This weeks projects Sept. 6
Weekend update September 8th-----------------------------------------------------------------
I finished a weekend project tonight and wanted to share it and another weekend design. I created another battery cover, this one for the Fisher Price Peek Blocks Press & Go Train. This was more complicated than it seems as there is an o-ring seal in the battery cover to keep water out and battery acids in if there is a spill. It also has a recessed screw feature, and everything is filleted everywhere. These are pictures of the object I printed:

This is the bottom side showing the o-ring seal rib and the recessed screw boss.
 This is the Top side

This is the cover installed in the train. It fits like a glove. I had to prototype print each part to get it to fit right, and then put it all together. The catches on the front were tricky also as I had to move into the space, but leave a radius to roll the cover down. I used a plain rectangular boss of ..5mm and then lofted the rest of the part with 2 lofts and fillet on the back to form the radius.
The only trimming was some extra splodge on the starting corner. I do have jitter running at 16, but you still can get some nasty blobs that interfered with installation of the cover. A trim with a razor knife fixed it right up.
I also updated my design for a time lapse holder for my iPad, so i could make the videos you see below. I minimized material usage and print time and got a nice working part that is light weight and didn't take an hour to print. And it holds the iPad well. I did some thinking about camera angles and I think I will add a bottom bracket to the object so that you can change the iPad viewing angle by just swing it up into place.
This is a picture of the pieces. You need 2 of these to make the bracket
 And here it is installed on my printer recording video in time lapse mode. Works great!
I have started an account with Thinkiverse, and have uploaded both of these objects.
You can see all of my objects at:
http://www.thingiverse.com/search?q=the+koala+farm&sa=
So far only the two objects, but I have over 8 gigabytes of designs that I have created. There will be more coming!
---------------------------------September 6th-------------------------------------------------------------
I know I was going to go back and work forward, but there were just too many things going on this week to let them slide!
I built a castle model from white filament that has been colorized with sharpie to turn it gray. That is the first time I have built a complete model with colorized filament, and the first time I de-reeled enough material to print the model + a bit. I used Cura to estimate the length of filament and just about doubled it. Worked out with only about 10 feet left.
Below you can see the slide show of the 3+ hour print process. Everyone needs their own castle!


I finished a weekend project tonight and wanted to share it and another weekend design. I created another battery cover, this one for the Fisher Price Peek Blocks Press & Go Train. This was more complicated than it seems as there is an o-ring seal in the battery cover to keep water out and battery acids in if there is a spill. It also has a recessed screw feature, and everything is filleted everywhere. These are pictures of the object I printed:
This is the bottom side showing the o-ring seal rib and the recessed screw boss.
This is the Top sideThis is the cover installed in the train. It fits like a glove. I had to prototype print each part to get it to fit right, and then put it all together. The catches on the front were tricky also as I had to move into the space, but leave a radius to roll the cover down. I used a plain rectangular boss of ..5mm and then lofted the rest of the part with 2 lofts and fillet on the back to form the radius.
The only trimming was some extra splodge on the starting corner. I do have jitter running at 16, but you still can get some nasty blobs that interfered with installation of the cover. A trim with a razor knife fixed it right up.
I also updated my design for a time lapse holder for my iPad, so i could make the videos you see below. I minimized material usage and print time and got a nice working part that is light weight and didn't take an hour to print. And it holds the iPad well. I did some thinking about camera angles and I think I will add a bottom bracket to the object so that you can change the iPad viewing angle by just swing it up into place.
This is a picture of the pieces. You need 2 of these to make the bracket
I have started an account with Thinkiverse, and have uploaded both of these objects.
You can see all of my objects at:
http://www.thingiverse.com/search?q=the+koala+farm&sa=
So far only the two objects, but I have over 8 gigabytes of designs that I have created. There will be more coming!
---------------------------------September 6th-------------------------------------------------------------
I know I was going to go back and work forward, but there were just too many things going on this week to let them slide!
I built a castle model from white filament that has been colorized with sharpie to turn it gray. That is the first time I have built a complete model with colorized filament, and the first time I de-reeled enough material to print the model + a bit. I used Cura to estimate the length of filament and just about doubled it. Worked out with only about 10 feet left.
Below you can see the slide show of the 3+ hour print process. Everyone needs their own castle!
I used about 60 feet of filament in this project, and since I was despooling the filament, had to print a despooled filament holder, then because the filament holder kept getting stuck on my machine, had to print a spool holder to get everything going. Turned out pretty well, I had an uplift in one corner, not a problem in a model for me.
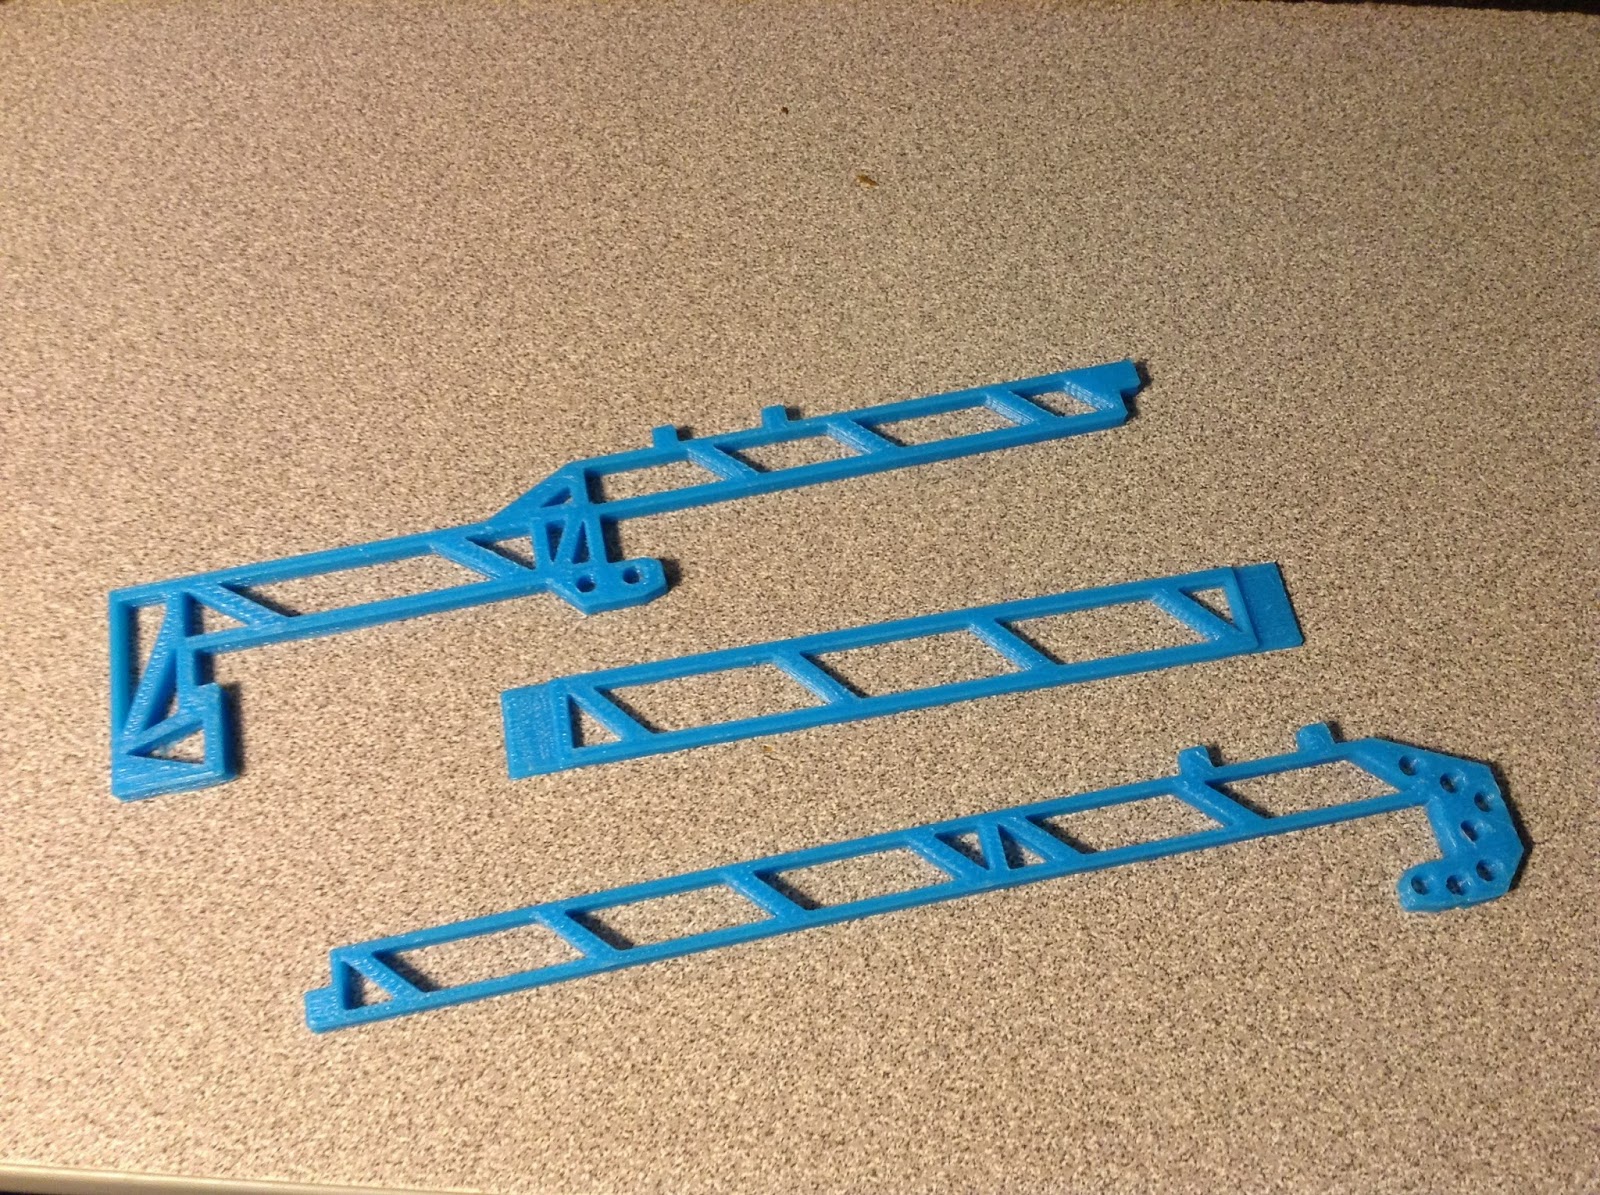
I started the design process for a new top to an enclosure, and am working on the interface between the existing bottom of the enclosure and the new top part. Unfortunately the manufacturer of the enclosure leaves out critical dimensions, so it is measure, design, print critical sections and correct. Slow going at first. I am going to try a new material called PolyMax on it to see how it holds up to shock and vibration.
I also started designing a bottom support filament roll holder (yes I know there are many on Thingiverse, I wanted to make one of my own). I am making the design kind of artsy for fun, and it reduces material usage and print time. The 3 round holes will hold the dowels, and the dowels on each end will have the roller on them. The center dowel is just for support. Have to test print a dowel for fit size and then make sure the rollers I've designed fit over the dowels loosely.
I also am in the process of designing a replacement battery cover for a toy that we got at a garage sale. This object is complex because it fits into the tummy of the horse. I used a 5 plane loft to recreate the contours. This was printed in blue, but will probably print in Pink for final object(blue was loaded so I used it).
All in all it was a pretty busy week at The Koala Farm.
Saturday, August 30, 2014
Startup 8-30-14
Adventures In 3D Printing
This is the startup post to my new Blog.
My goals for this webpage is to document my adventures in 3D printing.
My goals in creating this blog are:
1. I hope by publishing this I can help others so that they don't have to rediscover the things that I have discovered.
2. Help me remember what I have done to solve a problem or make a material or model work.
3. Share my adventure with family and others that will encounter my page
Ok, now for a little background information:
I purchased a FlashForge Creator from Amazon last Thanksgiving. The FlashForge Creator is based on the MakerBot Replicator Dual 3D printer. FlashForge has enhanced the hardware and software to bring it up to date. The specs on the machine are listed in the image.

I use Cubify Invent for creating the models to print. I also use Blender, netfabb basic, Meshmixer and FreeCad as helper programs.
FlashForge recommends using ReplicatorG version 0040, as the replicator dual profile built in the program works "out of the box" pretty well.
I am using the standard firmware (Version 7.2) that came preloaded into the printer, though I have looked at the wide range of alternate firmware versions available. I recently upgraded my Replicator G to Replicator 0040r24, as it decreases the slicing time.
I have been designing in 3d for about 30 years. I originally designed 3d objects in Autocad on the PC, then Imagine and Lightwave on the Amiga, then back to the PC for Maya, Blender, FreeCad and now Cubify Invent. At work I use Alibre (which is a full feature version of Invent really). My first models were ships from Star Trek and Battlestar Galactica. In fact I still see my Viper model running around the net. There is a mistake in the model that enables me to tell that it was converted from the original Imagine format. I do some mechanical and enclosure design in my job as a Manufacturing, Design and Systems Engineer for a contract manufacturer.
I have printed many different colors and manufacturers of ABS and PLA materials. I have also printed Nylon, a Rubber like material, and Wood. I plan on printing with some of the ABS / Plexiglas mixes when I can get around to it.
I print models for my own enjoyment, presents for family and friends, fixtures and tools for work and I am in the process of opening and Etsy store for selling my iPhone cases and assorted items that others have expressed interest in.
So I thought I would go through the challenges that I have encountered in a more or less chronological fashion. Each post will cover the experience and what I learned. I also will post informational data on the different materials I am using and what settings work best, and any other requrements that apply to using the material.
So Welcome and fasten you seat belt, keep hands and arms inside the car at all times.
Subscribe to:
Posts (Atom)